Display instructions
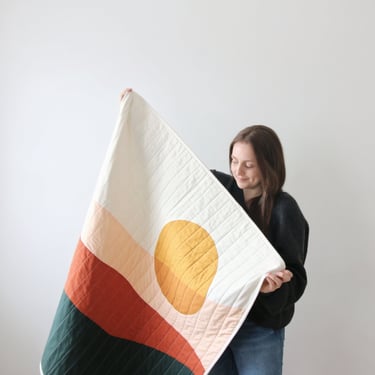
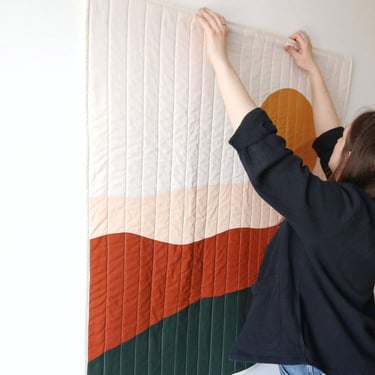
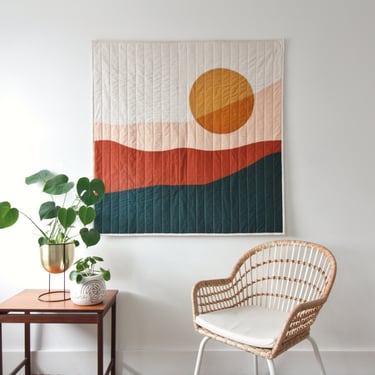
This simple four-step method shows you how to display your textile art using a wooden dowel and the hanging sleeve on the back of your piece, creating a secure and elegant wall display.
1. Prepare your materials
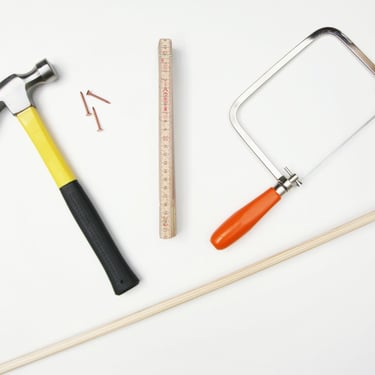
You’ll need a wooden dowel, a saw and sandpaper, a hammer, one or two nails, and a tape measure.
I use 10mm beech dowels, which are available from hardware stores or Amazon. Dowels can be purchased full-length, or you can ask the store to cut one to size. If you prefer to do this yourself, the instructions below explain how.
2. Measure and prepare the dowel
Measure the width of your textile to determine the required length of the dowel. Mark the measurement with a pencil, then carefully cut the dowel using a saw.
Smooth any rough edges with sandpaper so that the dowel slides easily through the hanging sleeve and sits neatly against the wall.
3. Prepare your textile
Lightly press your artwork to remove any creases. If using steam, I recommend using deionised water to help prevent water marks.
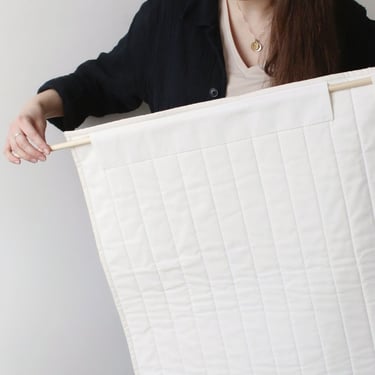
Run a lint roller gently over the surface to remove any dust, then carefully slide the dowel through the hanging sleeve on the back of the quilt.
4. Hang your textile art
Decide where you’d like your piece to hang, keeping in mind that a position away from direct sunlight will help prevent fading over time.
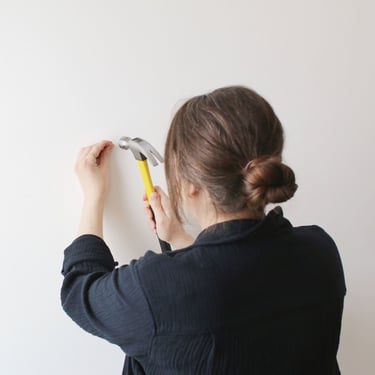
Mark the position on the wall. Smaller textiles can usually be supported by a single nail, while larger pieces are best hung using two nails. Use a spirit level to ensure the nails are aligned before hammering them into place.
Finally, carefully place the dowel onto the nail or nails. For advice on keeping your textile art looking its best, visit the care guide.